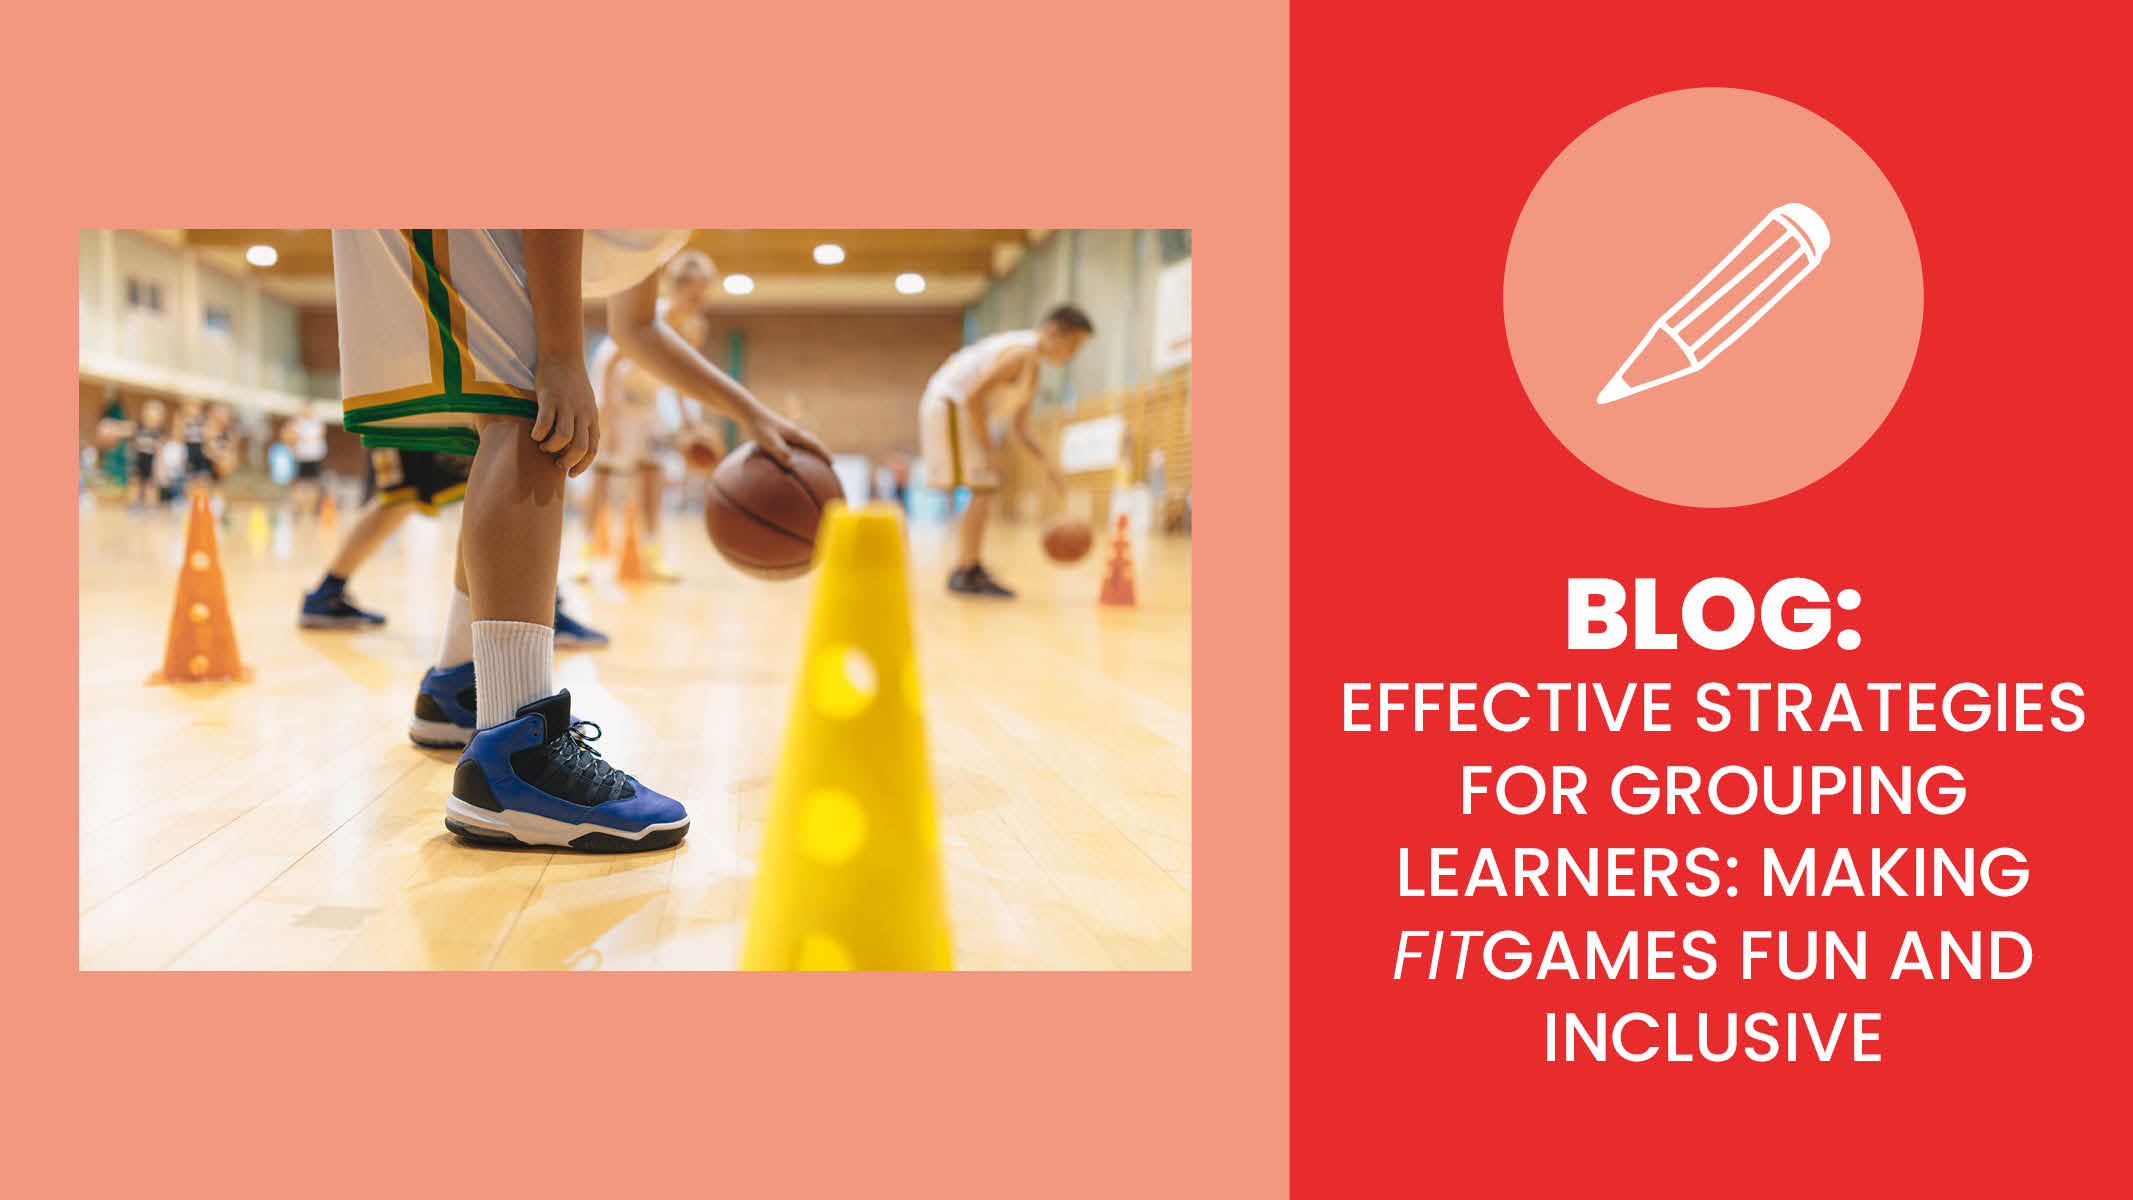
Physical Education (PE) is a fantastic opportunity for kids to have fun, learn new skills, and stay active. But how we group children for games and activities can make a big difference in their experience. Grouping students for games and activities has come a long way since the days of captains picking teams, grouping by gender, or simply numbering off. Modern grouping is all about celebrating diversity and making sure every student feels like they belong and can shine. It’s like creating the ultimate team where everyone gets to play and succeed together! To gain a deeper understanding of the importance of groupings, we spoke to Anthony Morando, General Manager of Sports Performance at Sanford Sports.
Why Grouping Matters
Inclusive grouping in physical education is crucial for ensuring both physical and emotional safety. As Anthony explains, "Grouping learners creates a supportive environment, facilitates quality control from the coach’s perspective, and can reduce the risk of injury due to the quality control created by the coach. Quality in this scenario would be related to proper technique and sense of belonging." By strategically arranging groups based on ability levels, knowledge of the activity, or friendships, coaches can foster supportive and realistic outcomes for each group. "Every kid is different and putting them in a group where kids have similar competence/skill meets them where they are at, limits feeling left out, and ensures that everyone relatively can rise together within the skill or sport. Nobody feels alone," emphasizes Anthony. This thoughtful approach creates a positive, empathetic atmosphere where students are empowered to participate confidently in PE, free from the stress of judgment or failure, and can truly enjoy the experience.
To get you started, here are some easy and interactive strategies for grouping your learners:
- Back to Back: Learners stand back to back to find a partner of similar height.
- Bracelets: Collect rubber bracelets of various colors. Give learners a bracelet (or small hair band) to wear on their wrists. Be sure to have several colors so you have several options for dividing the class.
- Craft Sticks: Use markers to write vocabulary words or make a dot-dash pattern on craft sticks. Learners draw a stick then find the person(s) with the same word or pattern. Or color-code sticks – color the tip of the craft stick with a marker, then learners draw sticks and match colors for teams.
- Deck of Cards: Deal playing cards to learners. Match them by suit or number. Alternatively, make your own deck by writing the learner’s names on the cards. Shuffle and deal your groups!
- Elbows: Walk around the room, and when the leader gives the cue, connect elbows with someone nearby.
- Find a Friend: Use categories to create small teams or pairs. Use height, birth month, birth date, eye color, clothing color, etc. You can ask: “Find a friend who has the same birth month as you.”
- Standers and Sitters: Select a partner. One person stands, and the other sits. The standers form one team and the sitters form another. Repeat to make four groups. Repeat for eight groups.
- Toe to Toe: Learners mingle around the room until the leader gives a cue. At that signal, they point one foot and pair up toe to toe with a partner.
- Teacher’s Choice: Use your knowledge of learners’ skills and compatibility and make up groups in advance. Change groups frequently throughout the year.
Helpful Web Tools:
To make grouping even easier, you can use these web tools:
- Random Group Maker: Create random groups quickly.
- Random Student Generator: Generate random learners for group activities.
- Classroom Group Maker: Instantly create groups for your classroom.
Apps:
- Chwazi Finger Chooser: Groups learners based on criteria you set.
- Team Shake: Quickly create groups on iOS devices.
- Who’s Next: A random student generator with fun sound effects.
No matter which method you choose, make sure to model the grouping practice before your learners try it out. This helps them understand the process and ensures everything runs smoothly.
Whether you choose to use these grouping methods for our fitGames or with your own, these strategies and tools can help you create a positive and inclusive environment where all learners feel engaged and valued. Happy grouping!
Ready for more? You might also like:
Adapting fitGames for Every Learner: Tips for Inclusive and Engaging PE Games


